How to make a digital wedding invitation, step by step
From the details you need before you start to the link you send: the six steps of making a digital wedding invitation, and the mistakes worth avoiding.

The short version
- Collect five facts first: names, date, start time, venue address and an RSVP deadline. Everything else can be added later.
- Choose the design with your own details already filled in, not with sample names, because that is the only fair comparison.
- Test the link on your own phone and on one older relative's phone before it goes to the whole list.
- Send it individually, with a personal line, rather than as one post in a group chat.
Making a digital wedding invitation takes about an hour if your details are settled, and most of that hour is choosing. The building itself is filling in a form: your names, the date, the venue, the schedule and the questions you want guests to answer. What follows is the order that saves you from doing any of it twice.
Step 1: What do you need before you start?
You need five facts, and you should not open any invitation builder until you have them. Everything else on an invitation can be added or changed after it has gone out; these five are the ones guests act on.
- Both names, written exactly as you want them to appear (nicknames or full names, and in which order)
- The date, and whether the ceremony and the reception are on the same day
- A start time that is the real start, not the time you would like people to arrive
- The venue's name and full address, ideally checked against a map pin
- An RSVP deadline, set three to four weeks before the day
If the reception is somewhere else, you need its address and time too. If you are not sure yet, wait. A digital invitation can be edited after sending, but guests remember the first version they read.
Step 2: How do you choose the design?
Choose it with your own details in it. A design that looks perfect with sample names in a gallery can look quite different with two long surnames and a venue called The Old Mill at Hudson Valley. Put your real names into your top three, look at each on your phone, and the choice usually makes itself.
We built our gallery so you can do exactly that before paying anything, and all 35 designs come with every plan, so you are choosing on looks alone.
Step 3: What goes into the schedule?
Two to four moments, each with a time and a place: when to arrive, when the ceremony starts, when dinner is served, and perhaps when the evening ends. More than four and nobody reads it. A schedule is not a run sheet; the minute-by-minute plan is for you and your coordinator, not for guests.
Step 4: What should the RSVP form ask?
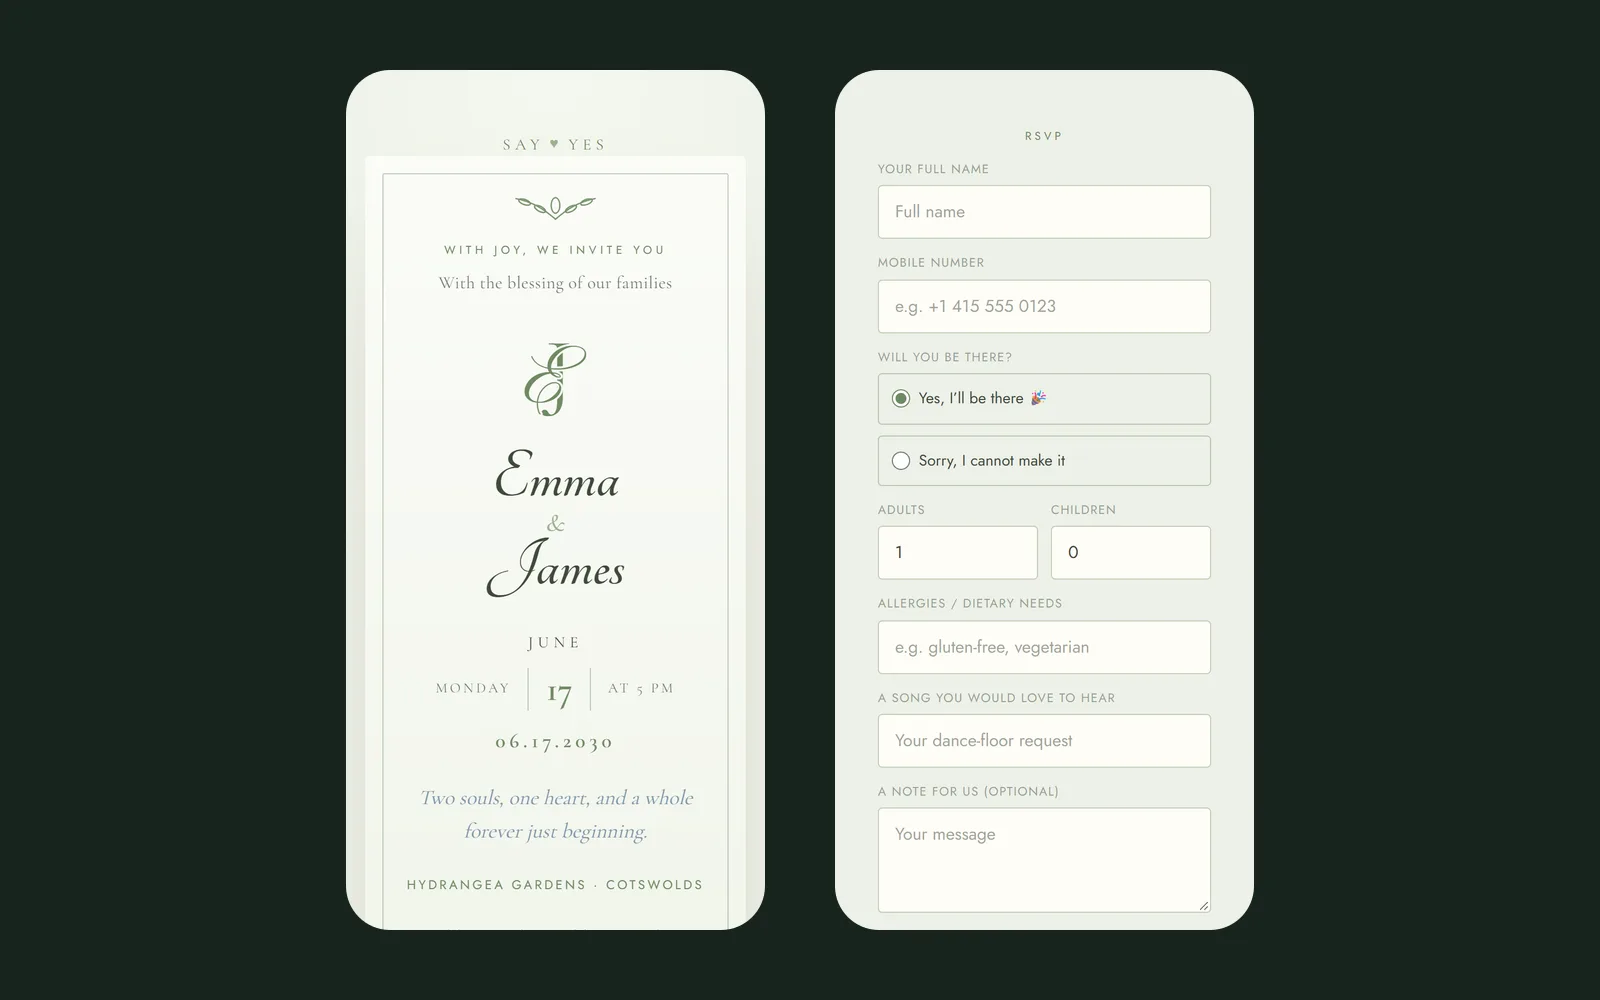
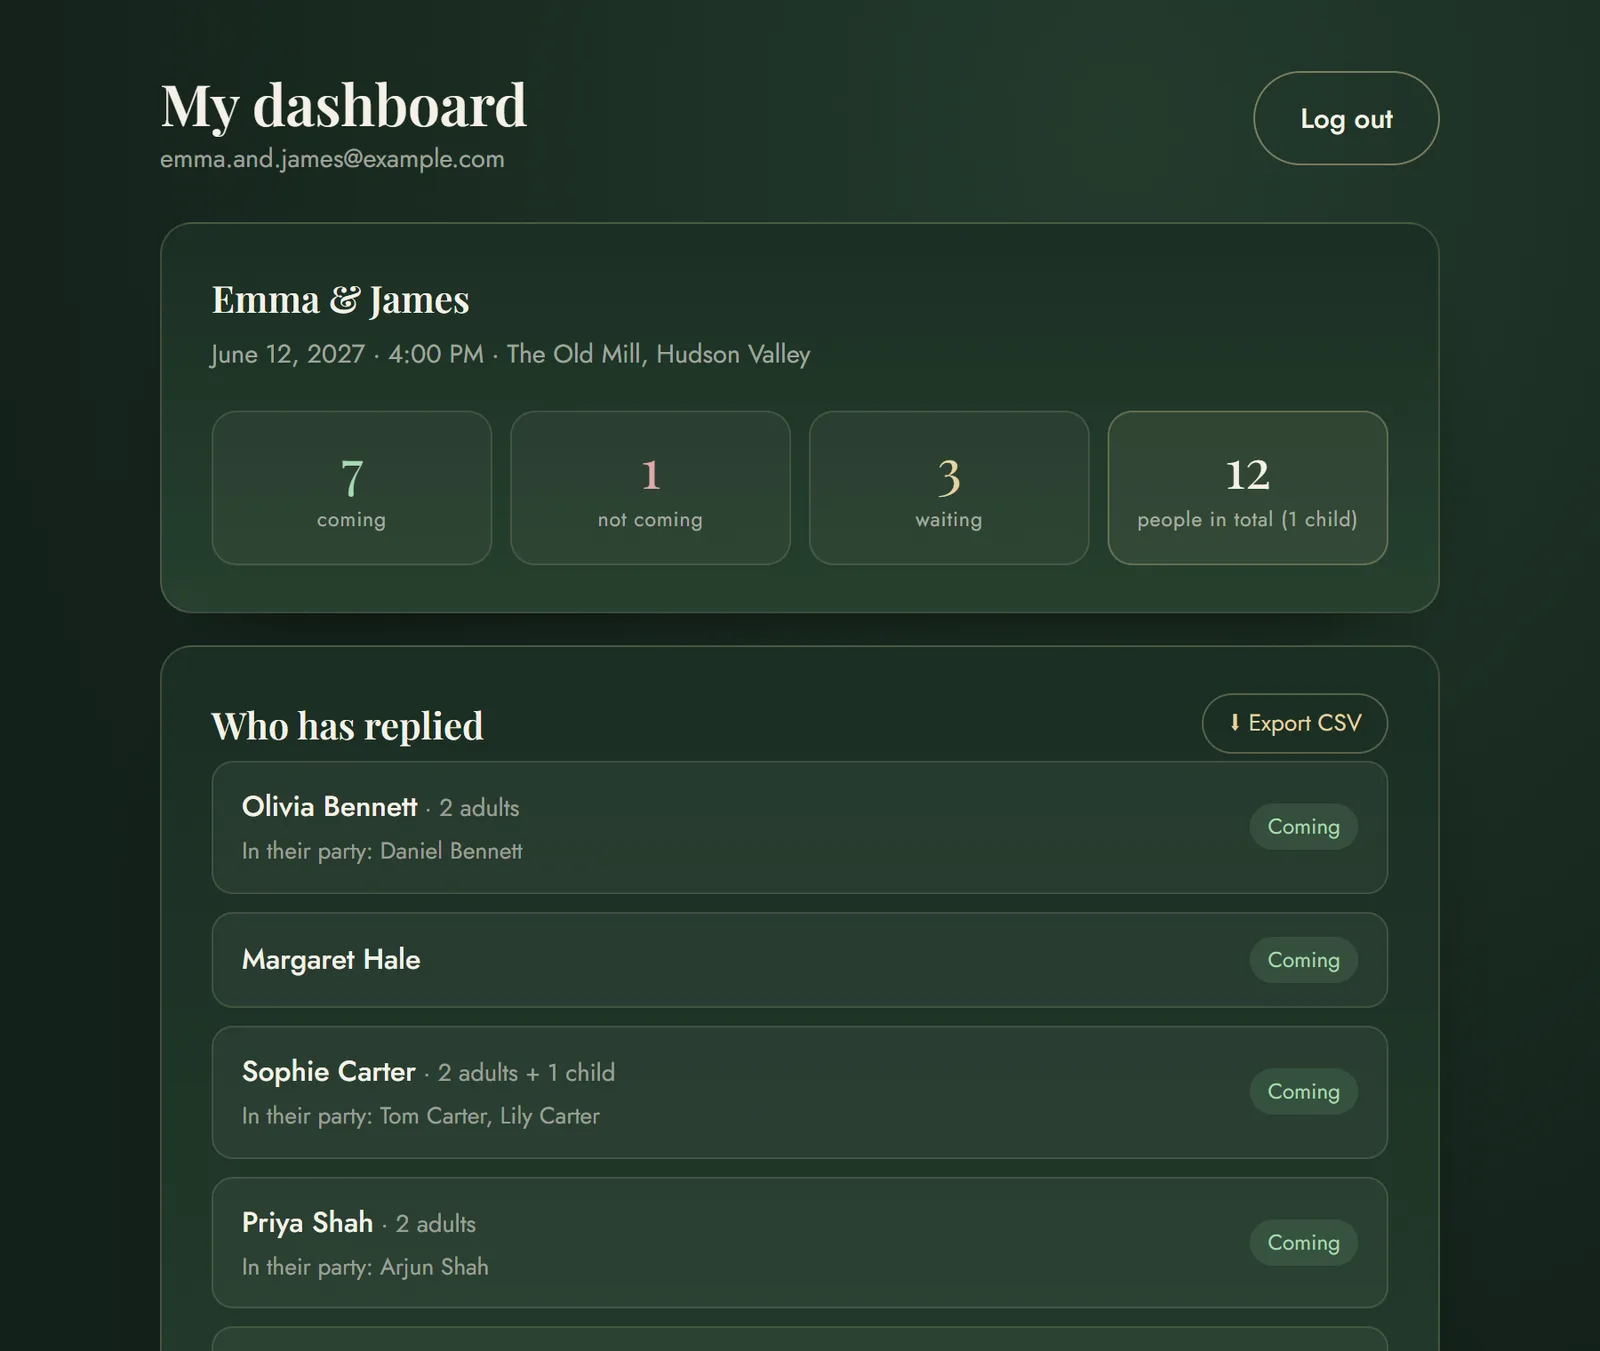
Whether they are coming, how many adults and children, the names of everyone in their party, and any dietary needs as free text. That is enough to plan the whole wedding. Every question you add on top lowers the number of people who finish the form, so add a song request because it is fun, and leave the rest out.
Step 5: How do you test it before sending?
Open the link on your own phone and reply to it as if you were a guest. Then send it to one person who is not good with technology and watch them open it, without helping. If they find the date, the map and the reply button without asking you anything, it is ready. If they hesitate anywhere, that is the place to simplify.
- Does the map pin land on the venue's entrance, not the middle of the estate?
- Does the calendar button add the right time zone?
- Is the RSVP deadline written as a date, not as a number of weeks?
- Does the link preview in your messaging app show your names, not a blank card?
Step 6: How should you send it?
One person at a time, with a line of your own above the link. It takes an evening for a hundred guests, and it is the single thing that makes a digital invitation feel personal rather than broadcast. A link dropped into a big group chat gets a row of heart reactions and very few replies.
The invitation is the same for everybody. The sentence above the link is the part that is only for them.
The mistakes worth avoiding
- Sending before the venue has confirmed the time in writing
- Writing the RSVP deadline as "within four weeks" instead of an actual date
- Asking for a postal address or a meal choice in the first form
- Forgetting the handful of relatives who would rather have something printed (a small card with a QR code solves it)
- Posting the link publicly, which turns a guest list into an open door
Common questions
How long does it take to make a digital wedding invitation?
About an hour once your details are settled: the date, the start time, the venue address, the names and an RSVP deadline. Most of that hour is choosing a design; filling in the details takes a few minutes.
What information does a digital wedding invitation need?
Both names, the date, the start time, the venue name and address, and an RSVP deadline. A schedule of two to four moments, a map link and a calendar button are what make it more useful than a printed card.
Can I edit a digital wedding invitation after sending it?
Yes. A change made to a digital invitation shows up for every guest the next time they open the link, which is why a moved start time does not mean a second mailing. It is still worth getting the date and venue right the first time, because guests remember the version they read first.
How should I send a digital wedding invitation?
Individually, by text, WhatsApp or email, with a short personal line above the link. Sending it one person at a time takes longer than posting it in a group chat, but it gets far more replies and feels like an invitation rather than an announcement.
Ready to make your own invitation?
Build a digital invitation, open your RSVP and plan the whole wedding in one place.
Get started →